
How To Create a Locality
What is a Locality?
Locality is a specific place associated with one or more Collecting Events.
A locality includes three types of data:
- Higher geography is controlled “authority data” and is included via key relationships.
- Georeferencing determinations are spatial data; they define a shape on a map. Localities may include point-radius data and/or WKT (polygon) data.
- Descriptive data, most importantly Specific Locality and may include locality attributes such as Geology
Localities are shared. It is important to remember this anytime you are working with Locality. If you want to retain more control over a locality (and therefore, less collaborative maintenance), you can use a Locality Nickname to designate the locality as different from any other locality with essentially the same information.
Create a Locality as Part of Data Entry
Localities are created as part of Single Record Data Entry and Data Bulkloading. When these localities are exactly the same, they are merged.
Create a Locality for future use in Data Entry/Bulkloading
Why create a locality without an associated catalog record?
When collections are made from a single locality, data entry can be easier if the locality is created in advance. Providing a Locality Nickname allows anyone entering new catalog records from the locality to complete all locality information simply by inserting the locality nickname. This is accomplished with the “Pick Locality” option.
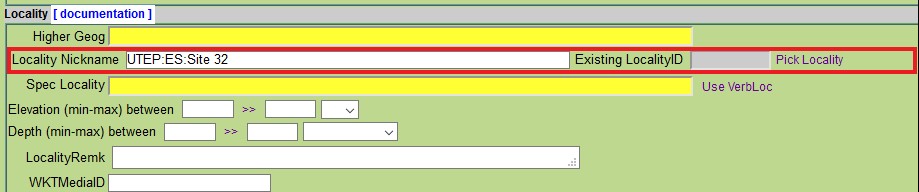
Then the Locality Nickname is inserted into the “Locality Nickname” field of the pop-up window

Select “Find Matches” to see Localities matching the search request
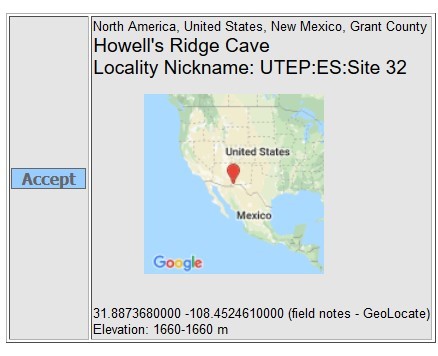
Select “Accept” for the correct locality
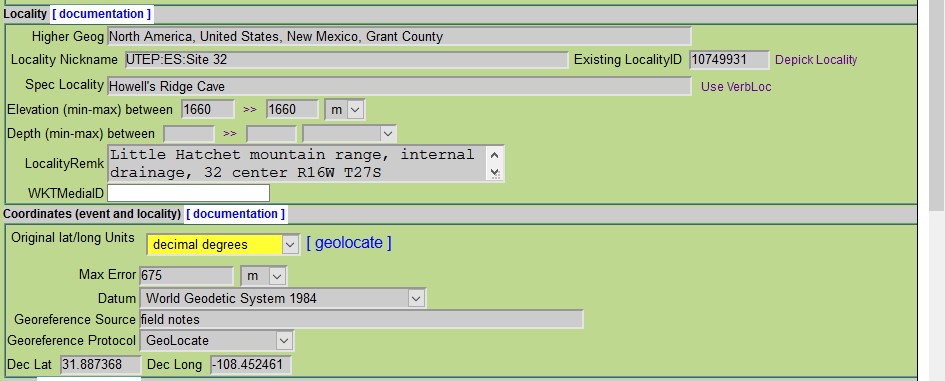
And the locality details will be copied into the current record in data entry
Creating a Locality
In order to create a locality for use as described above, be sure you have MANAGE_LOCALITY privileges. There are three available avenues to create a locality:
-
Use the locality bulkloader and include a locality nickname. You can upload a csv of one, of course. (More examples to come)
-
Alternatively, you may want a new locality for a subset of records that are sharing a locality. Use the Clone Locality button on the locality edit page. This is the safest method because it’s easy to forgot components like the Higher Geography which will be copied over. This locality is completely editable so you can also assign a different Higher Geography or attributes.
-
Lastly, localities are creating with data entry of records. To make sure you are using the pre-created locality, make a note of the nickname and enter that in the appropriate field! Anyone entering data using this new locality will be able to find the Locality quickly using the nickname.
Edit this Documentation
If you see something that needs to be edited in this document, you can create an issue using the link under the search widget at the top left side of this page, or you can edit directly here.